Every environment in the platform is backed up daily in case of emergency. These system-wide backups have to be restored by our team, however, which can take valuable time that you may not have when working on sites day-to-day and troubleshooting smaller issues.
Fortunately MightyBox comes with a robust site-level backup solution that you can activate on any of your sites. These user-managed backups on MightyBox are established manually on a per-site basis and consist of two components:
- Backup server, a standalone storage node created explicitly for housing your site backups. One backup server can be used to store backups for any number of client servers.
- Client server, running on the application layer within your production site
Creating a backup server
To get started, go to the Marketplace and install a new “Backup Storage Node”:
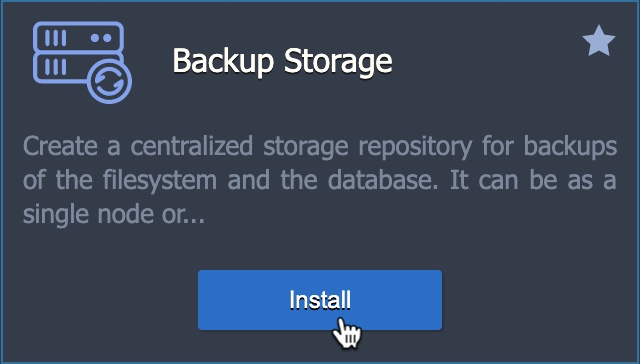
Configure your backup node and choose “Install”:
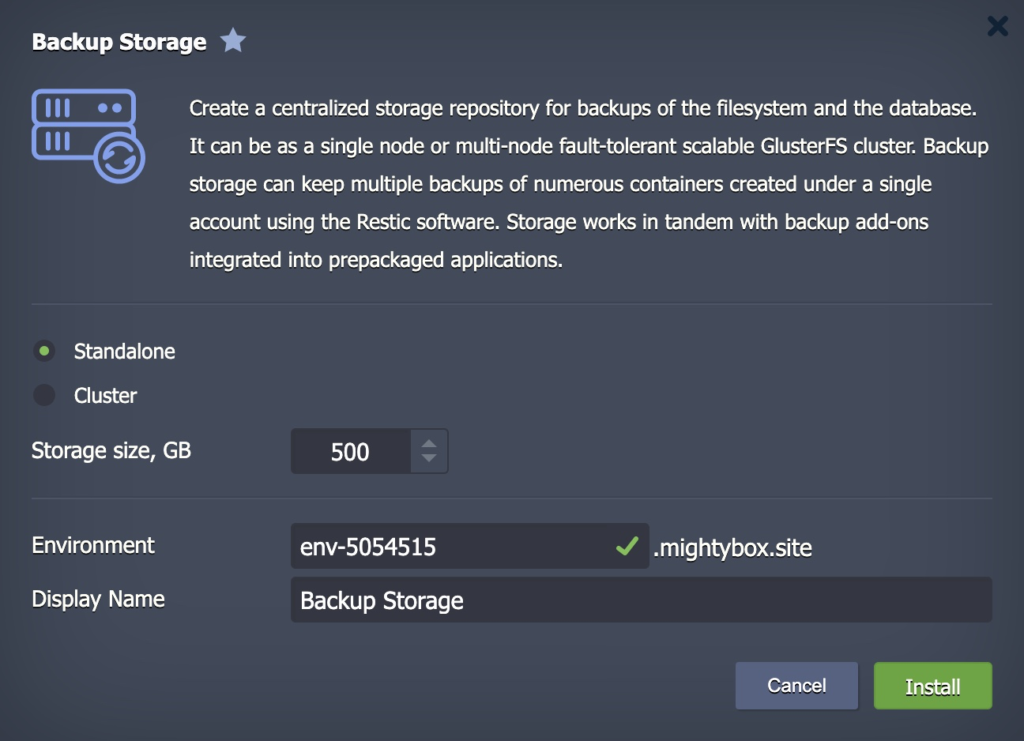
This storage node will serve as the backup location for multiple (as many as you like) sites.
Connecting a client to the backup server
Next, for each site you want to backup, install the “WordPress Backup/Restore” addon from the application layer:
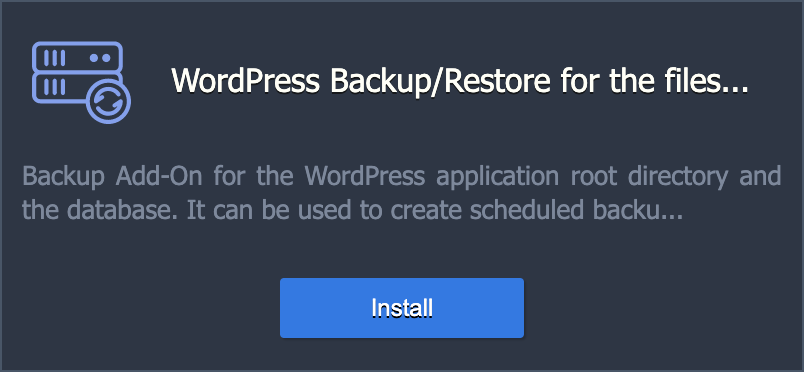
In the following prompt, configure your backup frequency, the backup storage node you’d like to use (if you have multiple), and the number of backups to keep:
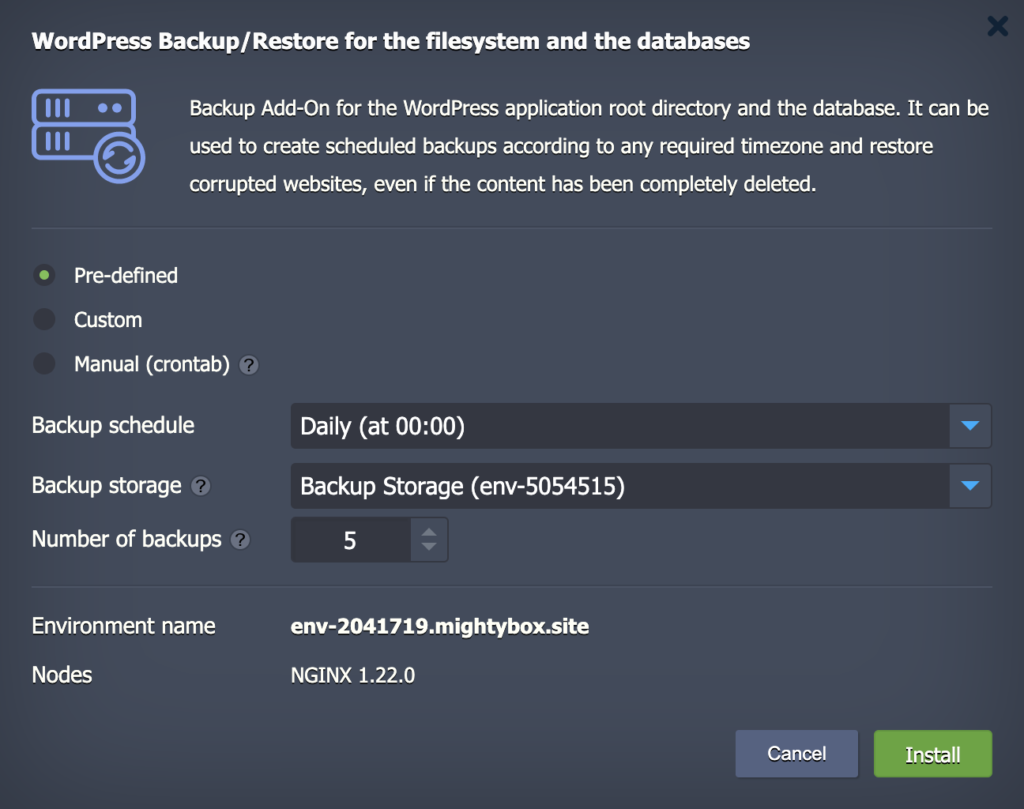
Click install and your backups will begin running!
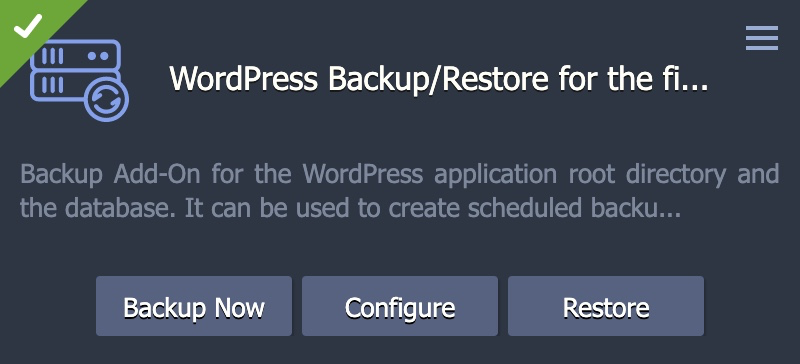
You can modify the settings for any site by opening the addon again and selecting “Configure”: