WP cron is an ingenious, low-tech solution to a complex problem: allowing content publishing and other activities to be scheduled within a WordPress site without requiring a sysadmin to be involved in writing cron configuration files.
The approach, however, is also notoriously unreliable for anything that requires a real, consistent schedule. Fortunately, with a small amount of work, we can do better.
Disable WP Cron
The first step is to disable WP cron. In wp-config.php add the following line:
define( 'DISABLE_WP_CRON', true );Activate server cron job
Then, open the application-layer config manager and navigate to the cron folder:
/var/spool/cronHere you’ll see a file named after your webserver (litespeed or nginx).:
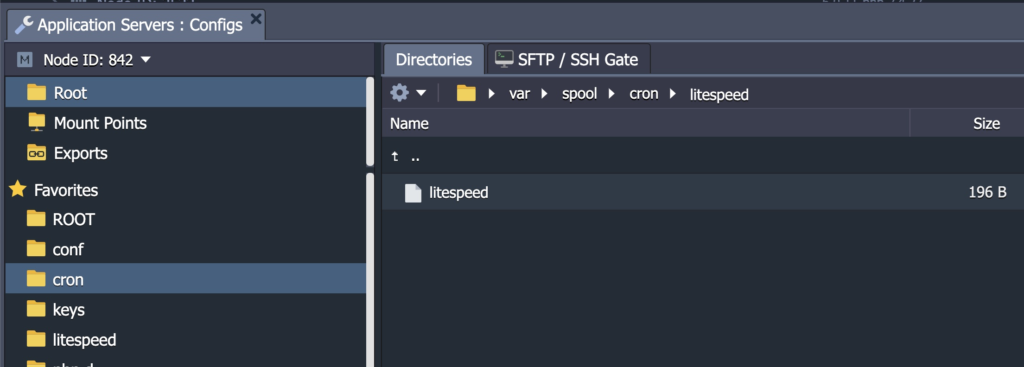
Inside of this file, insert the following (replacing {your.site} with your staging or production URL:
* * * * * wget -q -O - https://{your.site}/wp-cron.php?doing_wp_cron >/dev/null 2>&1This will tell cron to run every minute of the day. If you’d prefer to run it every five minutes, use this instead:
*/5 * * * * wget -q -O - https://{your.site}/wp-cron.php?doing_wp_cron >/dev/null 2>&1Other schedules are possible, but recommended only if you thoroughly understand the WP cron system. You might consider a tool such as https://crontab-generator.org to create such custom schedules.
Verify that your cron is running
Plugins such as https://wordpress.org/plugins/wp-cron-status-checker/ can be used to validate that cron schedules are in fact running as anticipated.
In clustered setups…
If you have multiple application servers, only save the modified cron file to the master application layer node. Saving to all nodes will cause cron to run individually on each node. (the changes to wp_config.php can be saved to all nodes or will automatically sync and this is to be expected).